
I have a bit of a mixed-track record with home repair projects. Some, like rewiring my doorbell or replacing the inner seal of my toilet have gone well. However, the time I decided to replace the disposal in the kitchen sink over Memorial Day weekend was a historically spectacular (and expensive) failure.
Over the last few weeks I’ve tackled a few projects that I have been putting off because they presented some unique challenges, and to my surprise each one has gone quite well. They each required some creative techniques I hadn’t been familiar with, so I thought I would share them here with some of my other homeowner friends.
A stripped screw hole
A few weeks ago, the door to our bathroom cabinet popped off. It has done this a few times in its past life, and each time I screwed it back on, I worried a bit because I could see that the wood around the screw hole was not in good shape. I wasn’t sure how long it would hold.
This time, I found I was indeed in trouble. The screw hole was completely stripped – you could just slide the screw in and out, so there was no way to reattach it.
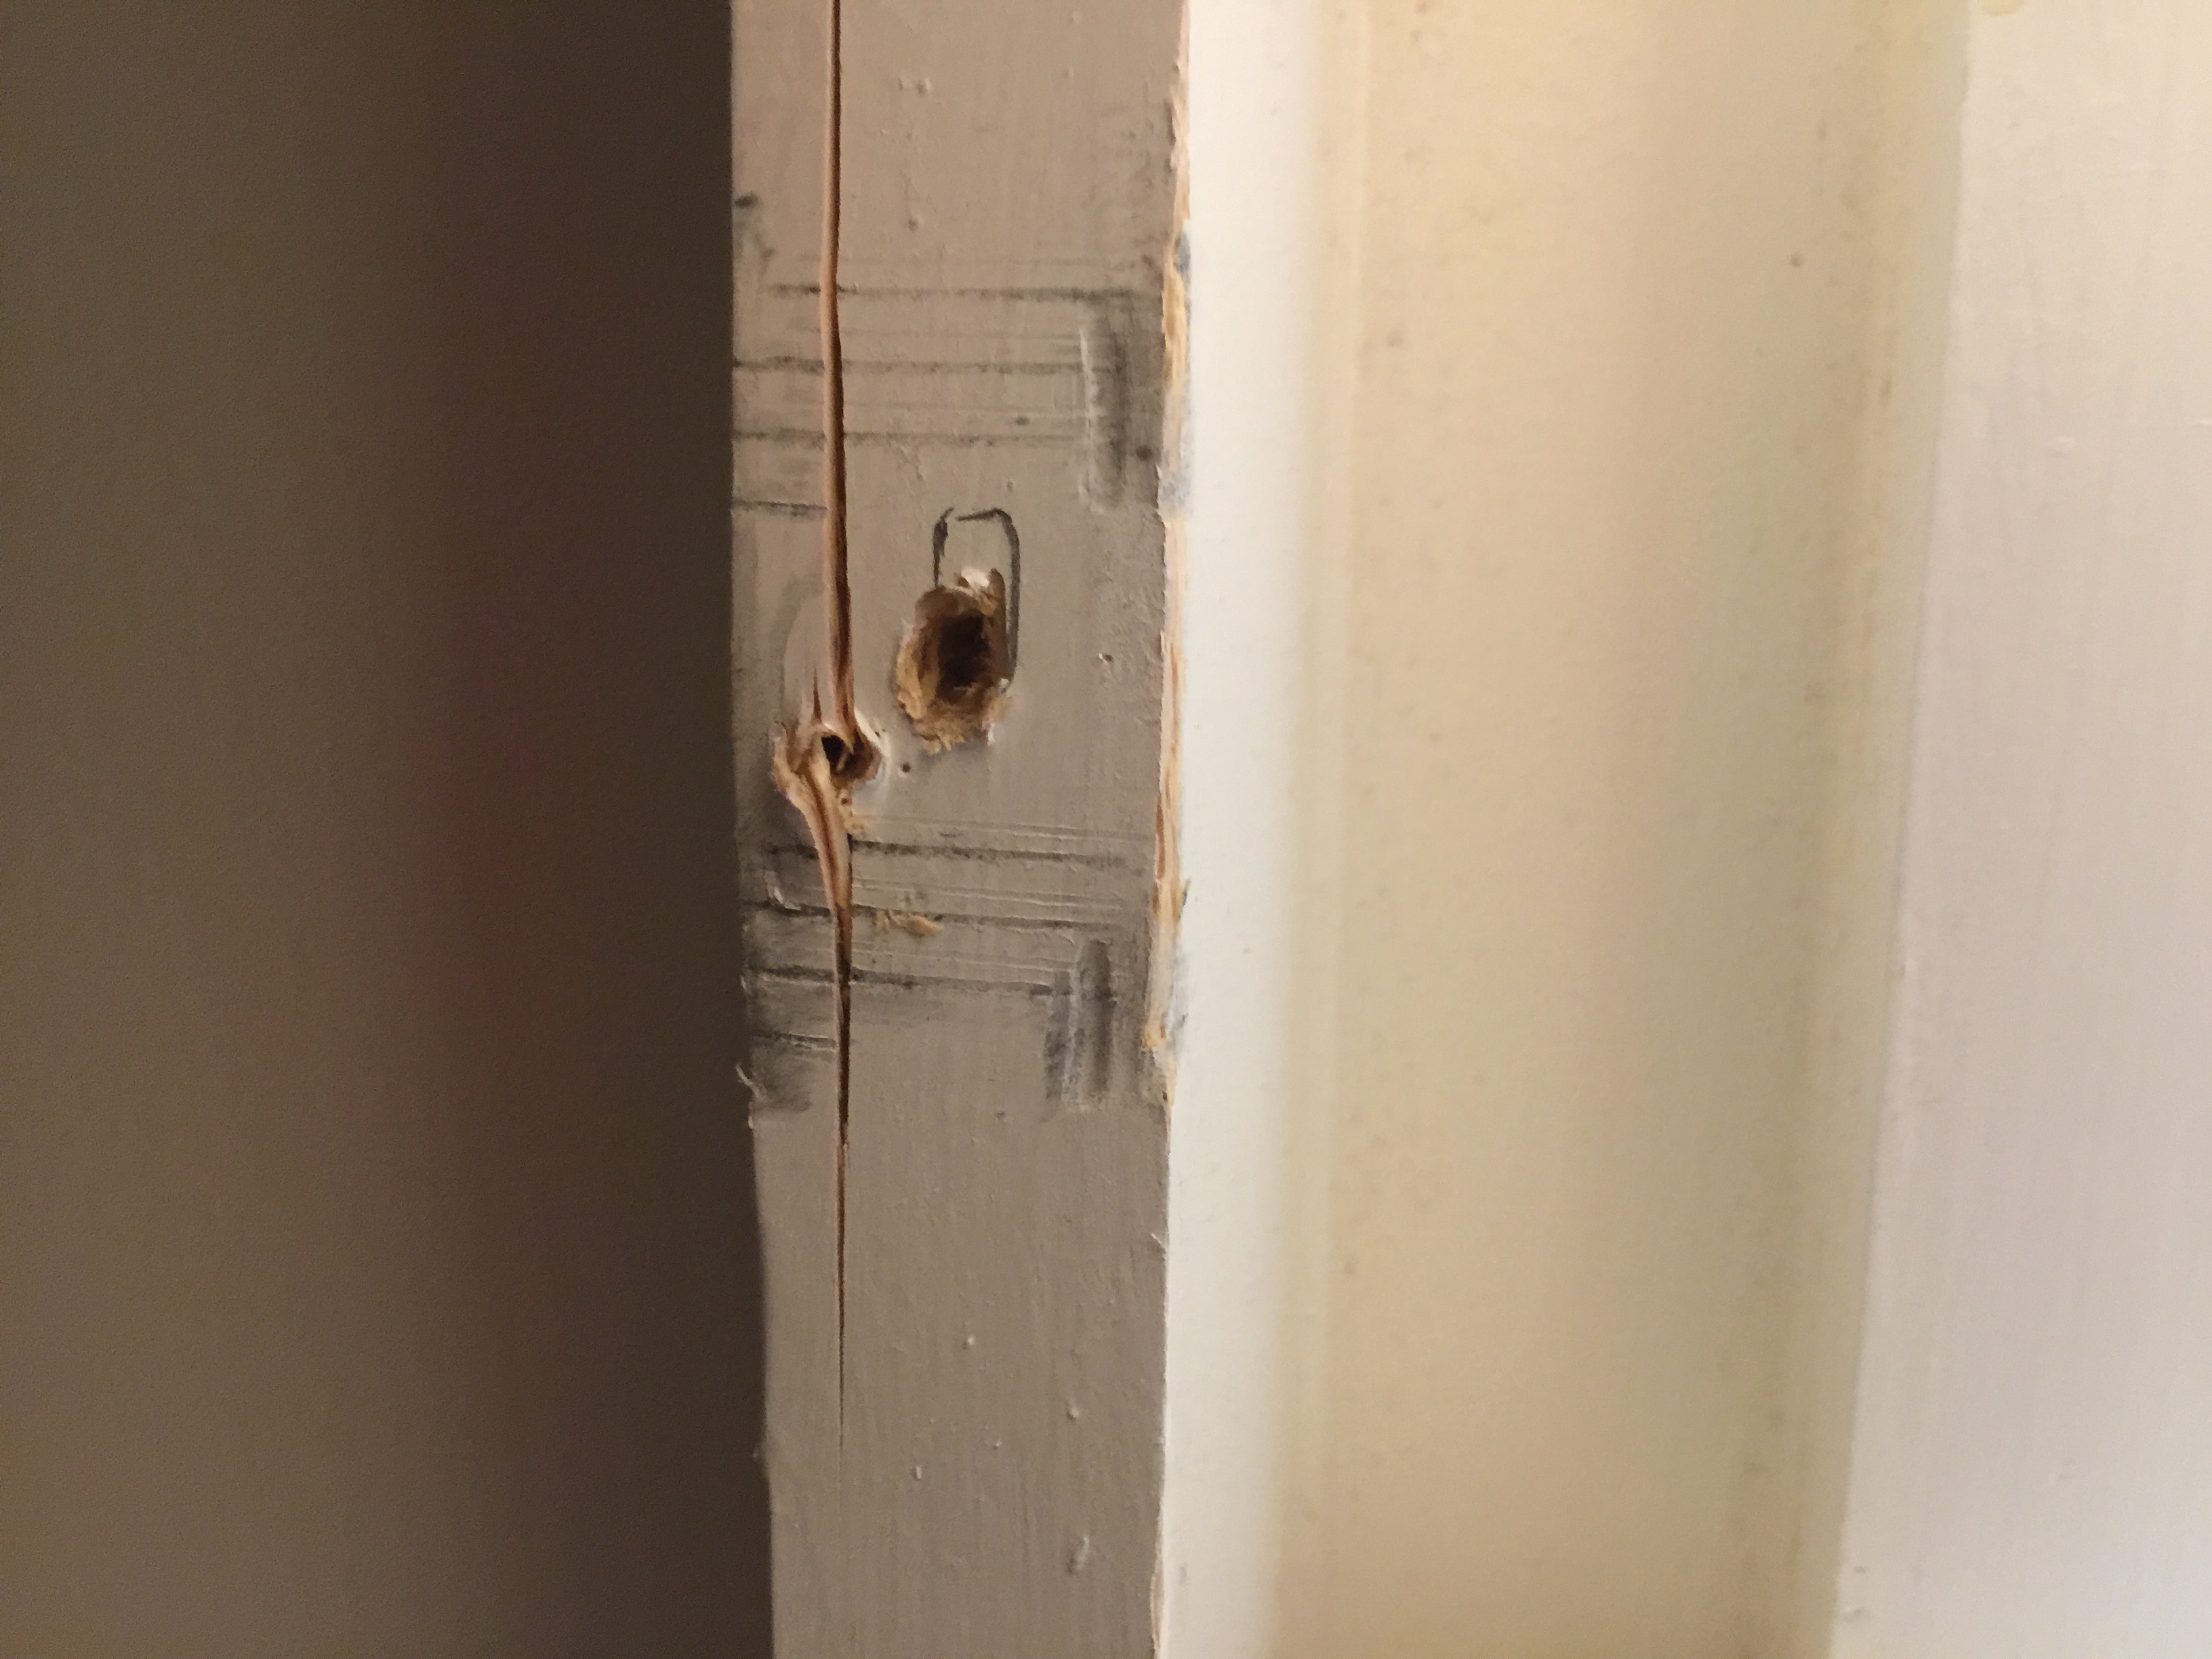
The screw hole was completely stripped.
I figured this was the end of the road for me, and I would need an actual handyman or carpenter to come in and fix it. But, I did some research on Google and found that a stripped screw hole is not nearly as difficulty to repair as I had assumed. All you need are some toothpicks, a razor blade, and some wood glue.
The first step is to fill the hole with bits of wood and wood glue. Toothpicks are a good choice because they are readily available and easy to fit into the hole.

Fill up the hole with pieces of wood and glue.
Basically, you dip a toothpick into some wood glue, then stick it into the hole and break it off. Then you do this again. And again. You keep doing it until you can’t fit any more pieces in. Then you use a razor blade to trim the pieces flat with the wood and leave the glue to dry.
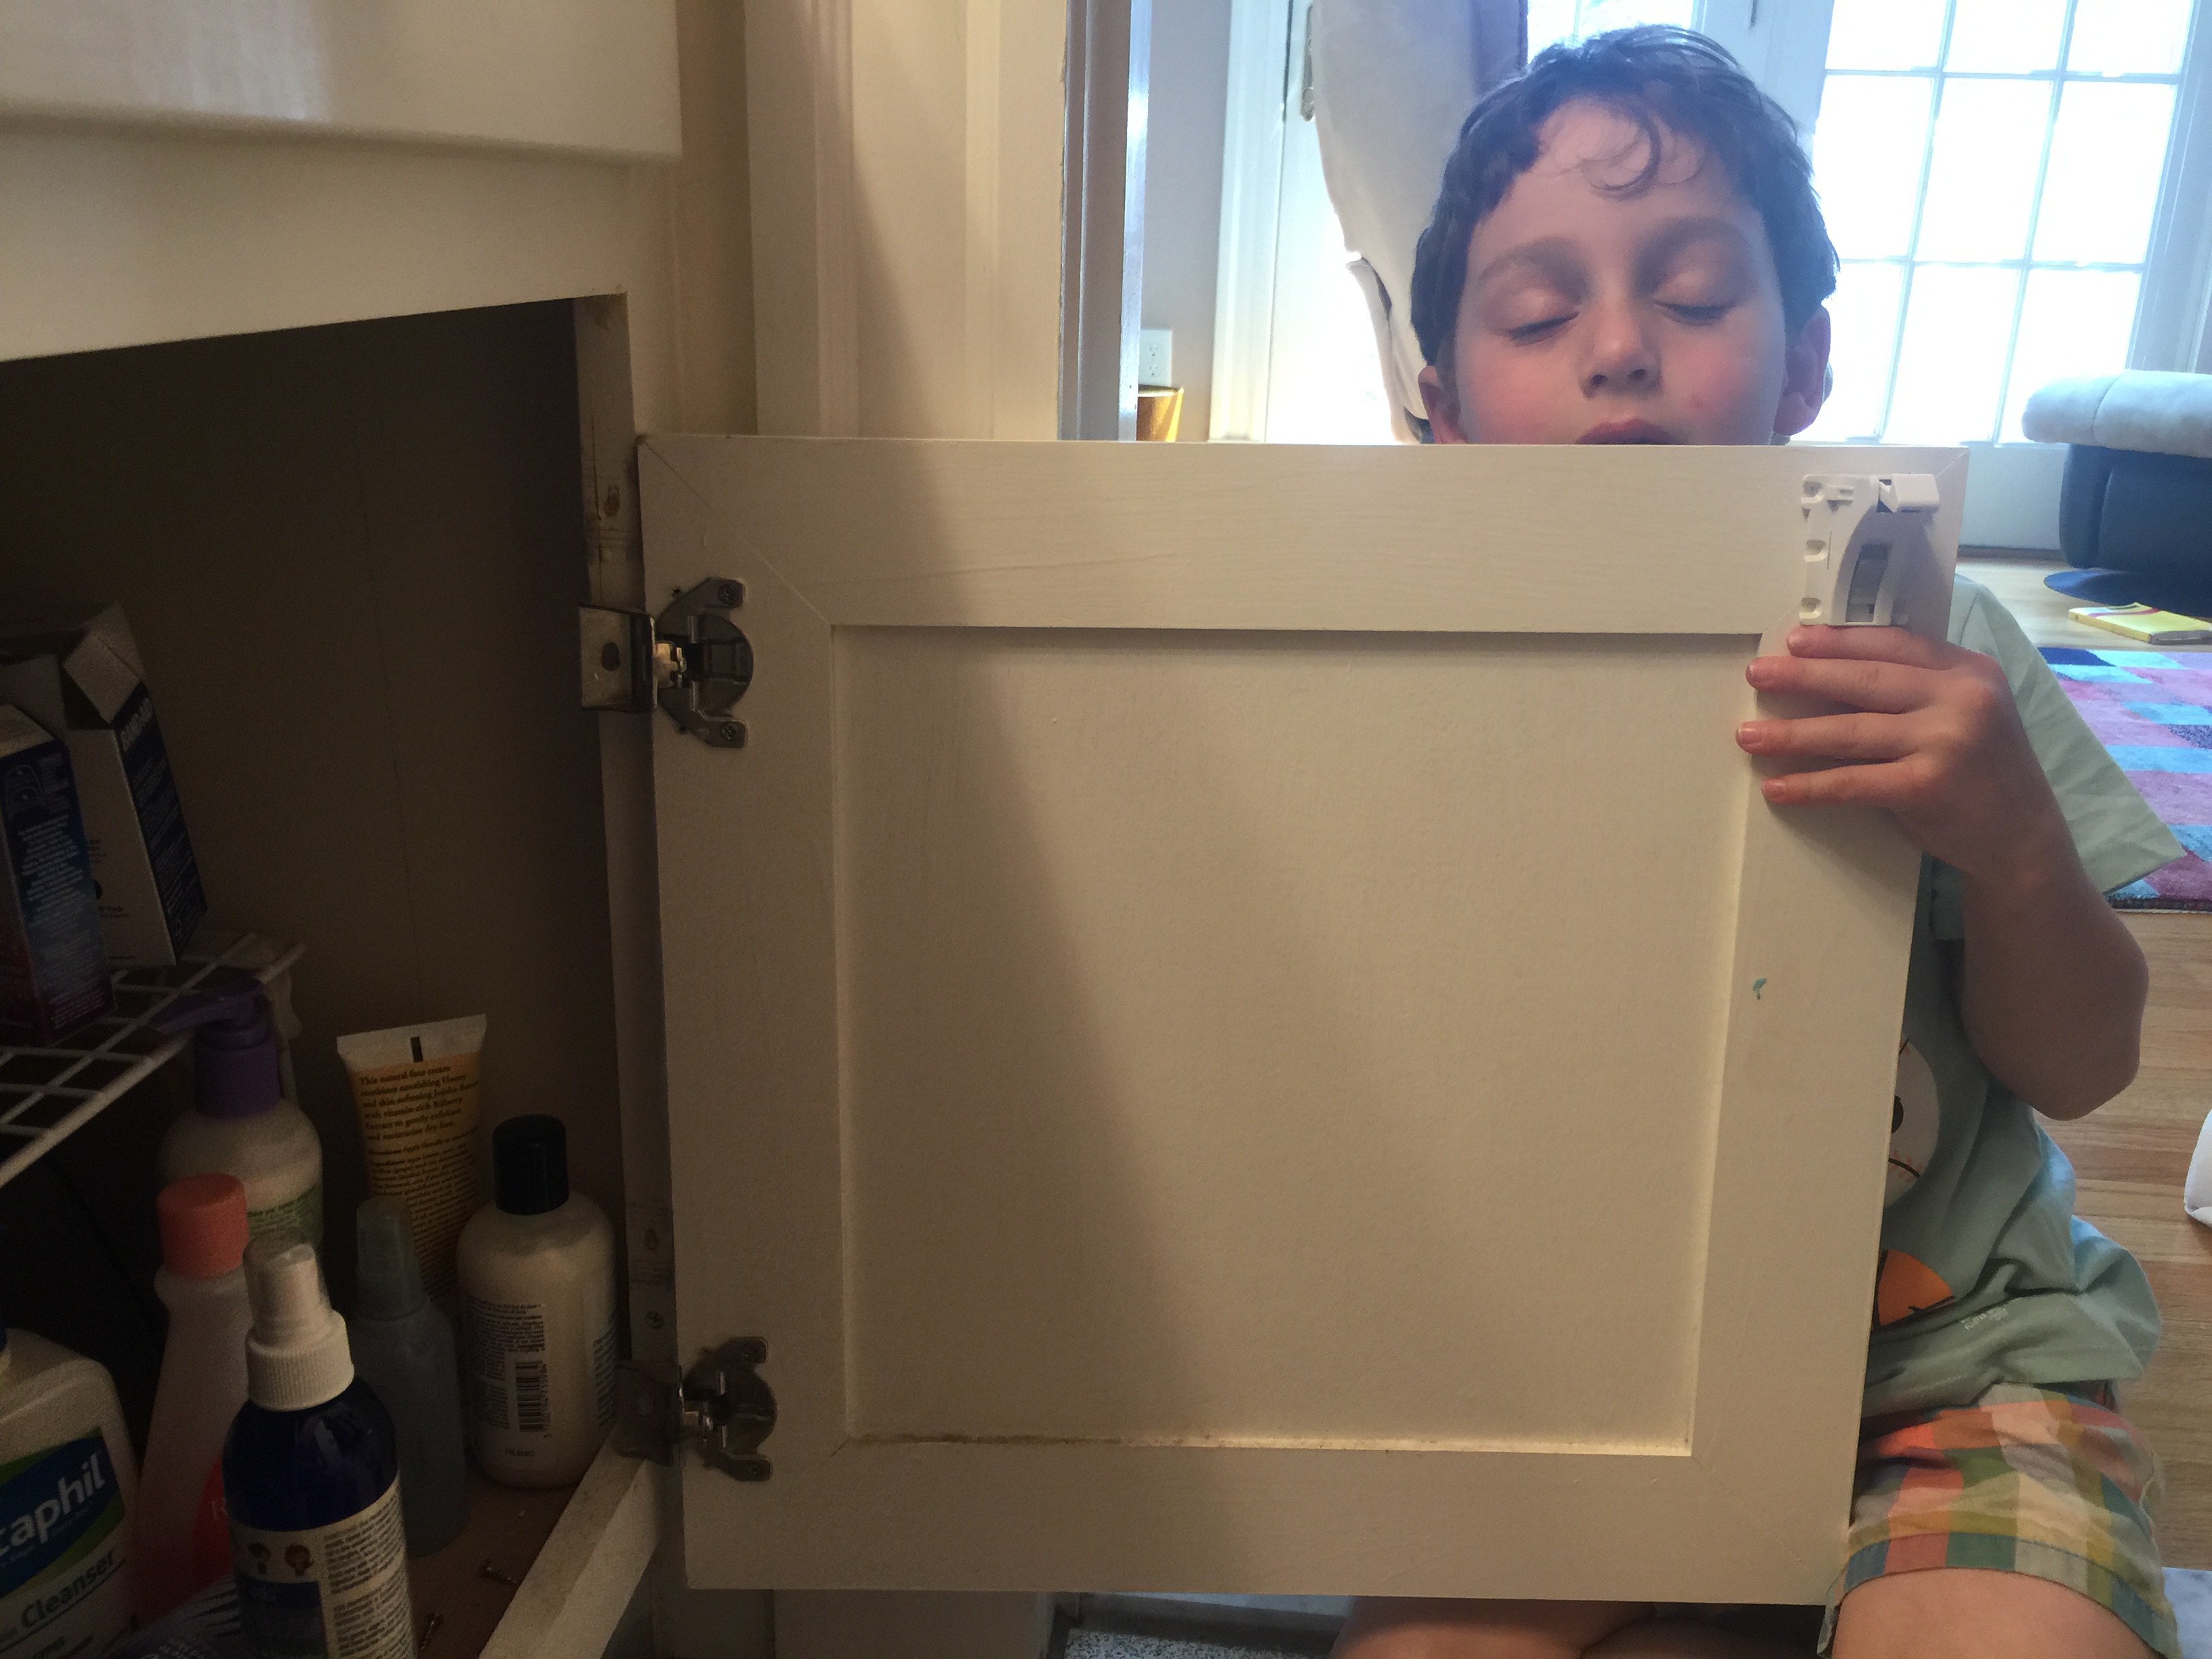
Once the glue has had time to set, you can try putting a screw back in (it helps to have someone hold the cabinet door in place).
After a few hours, you are ready put in a screw. All the extra pieces of wood give the screw something to bit into, and it should hold quite well.
So far, so good. The cabinet door has stayed in place for more than a month now. No carpenter needed!
Fixing a door’s misaligned strike plate
On to repair project two… getting our doors to latch.
We are the first owners of our home and have lived here for over ten years. The house was quite well made, but one small imperfection has always bothered me – several of the bedroom doors don’t actually latch.
They close, but the strike plates don’t quite line up, so they don’t actually latch. And if they don’t latch, they don’t lock. This didn’t used to bother me, but now that the kids are seven and five, I like to be able to get dressed in peace without one of the kids suddenly barging in.
Unfortunately, it’s not so easy to fix the positioning of these strike plates. They were just a little too high and needed to be lowered a quarter of a inch. Because of the existing screw holes and latch hole, this wasn’t just a simple matter of drilling a few new holes or filling in a stripped screw hole like I did on the cabinet. It would be a big project. I didn’t want that level of trouble.
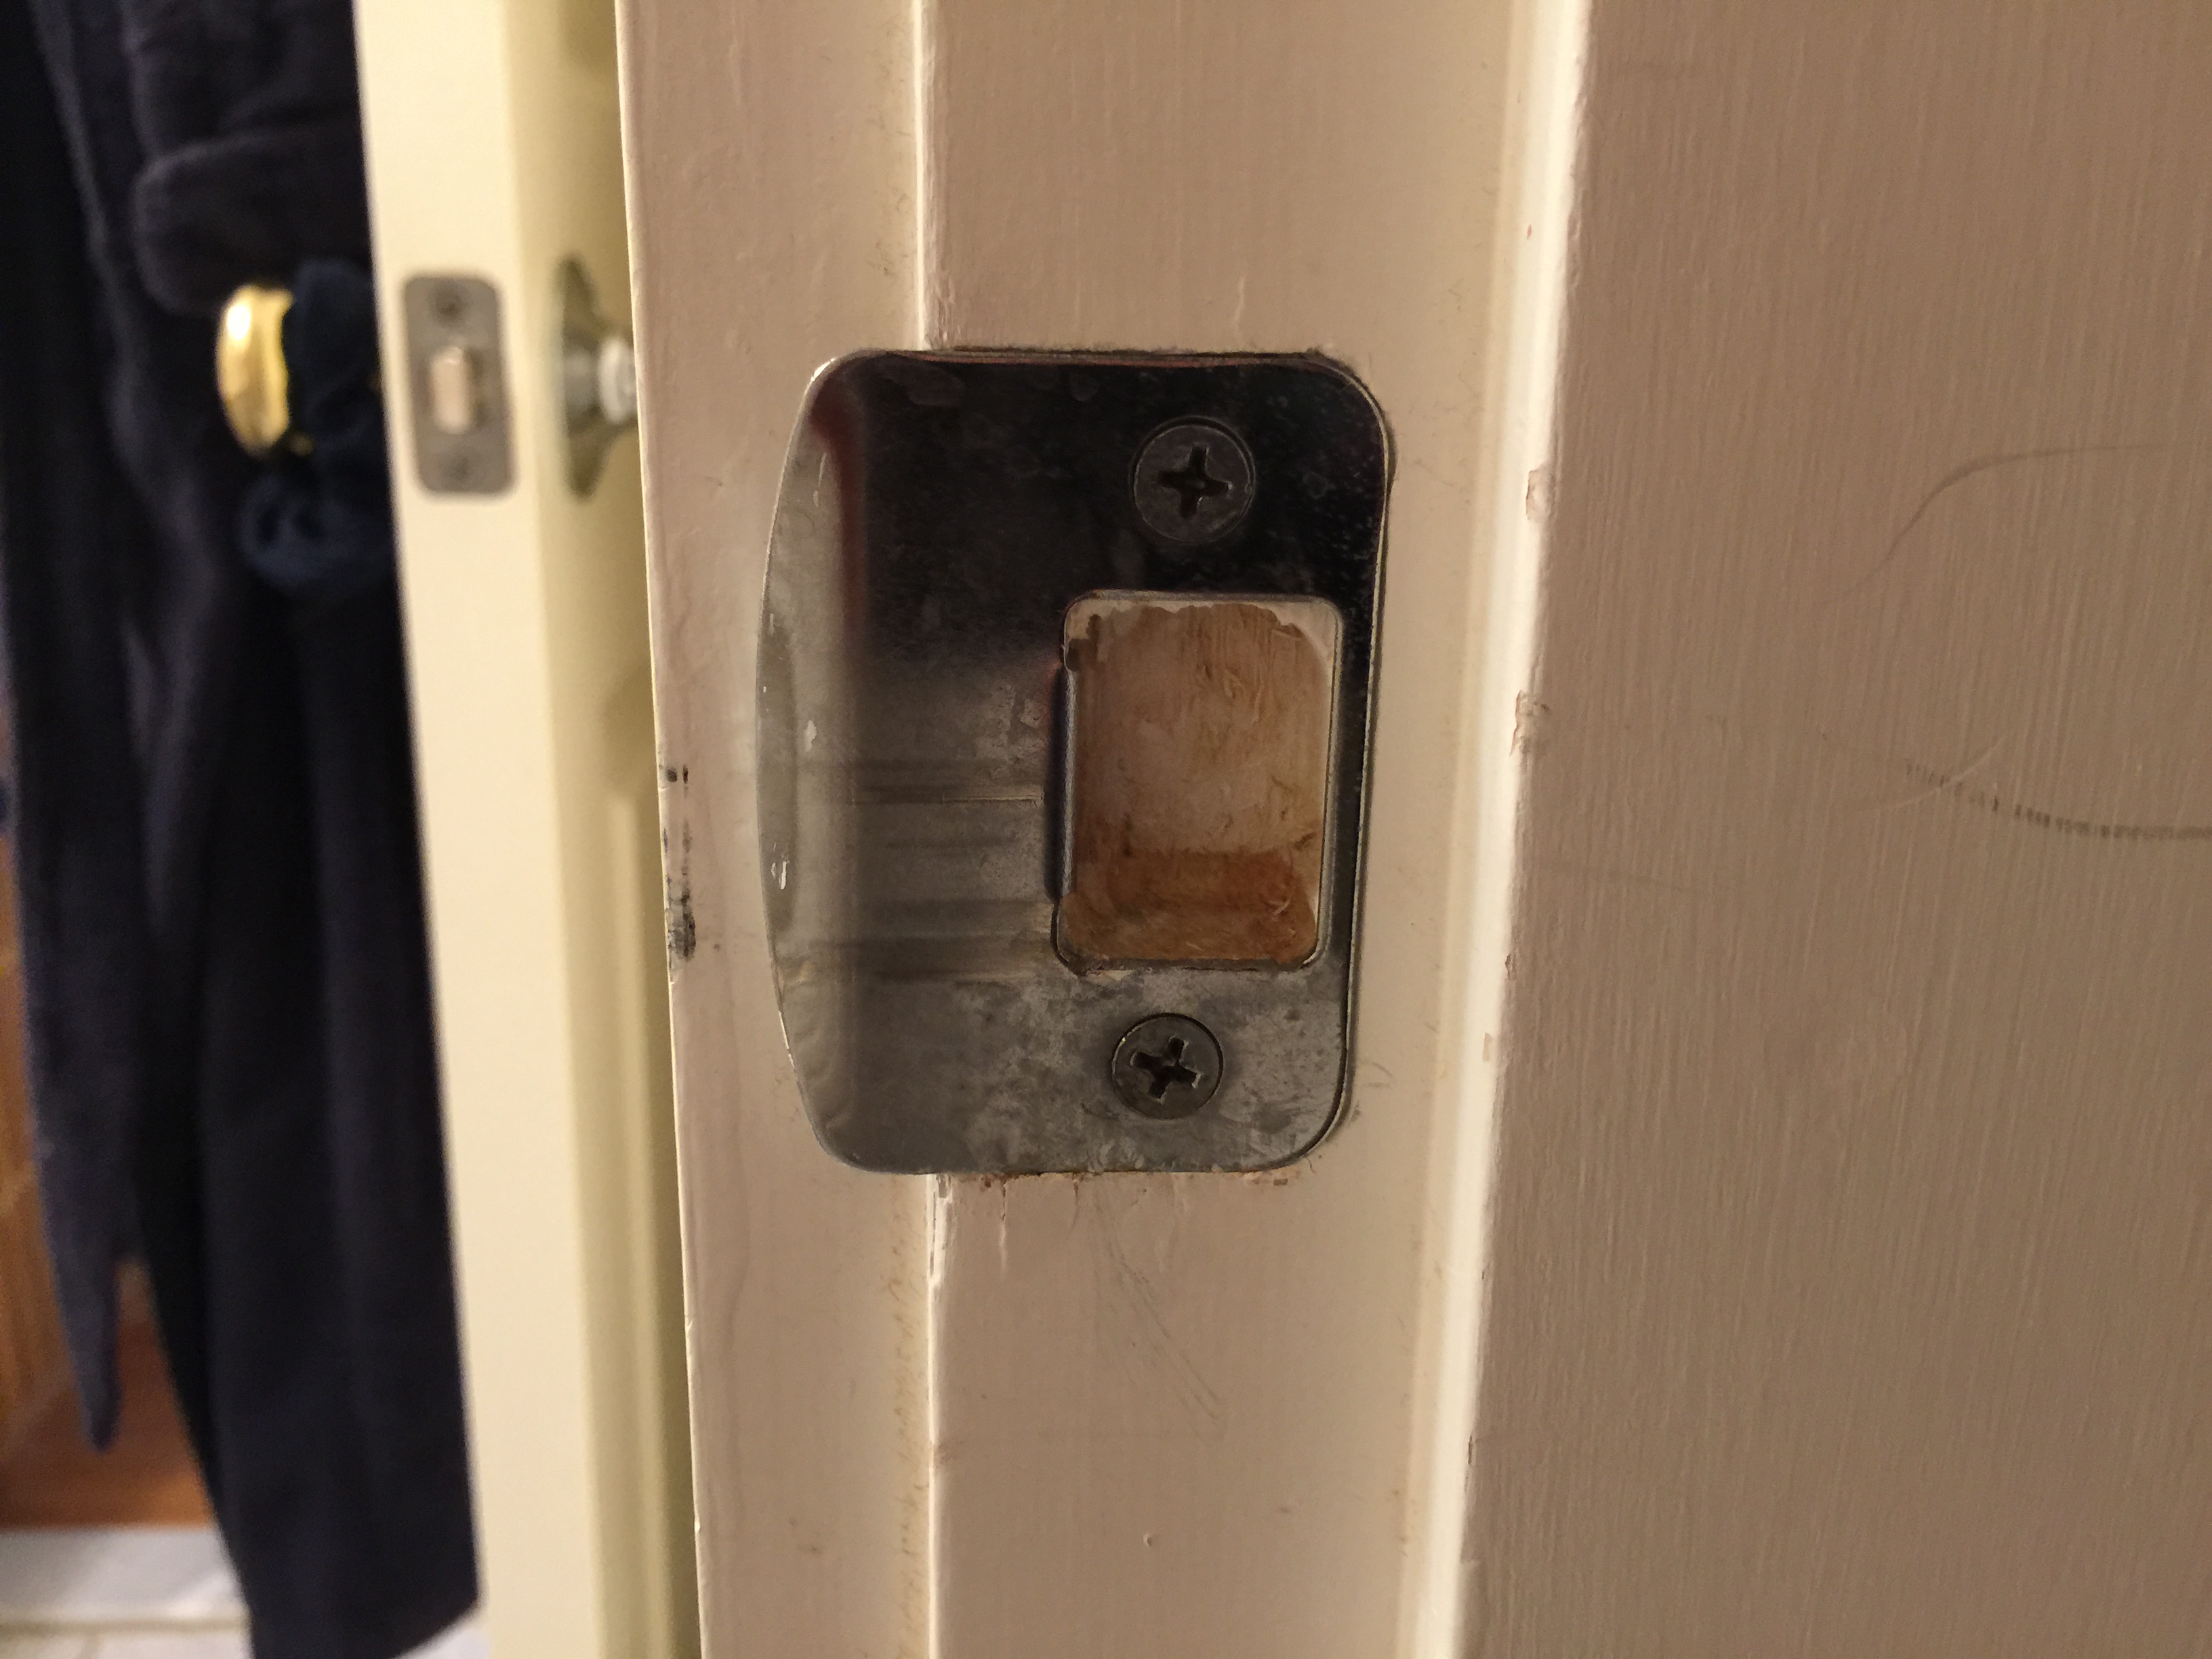
The hole in the strike plate needed to be expanded just a little bit further down.
Really, I just needed to make the hole for the door latch a little bit bigger. If I could add 1/8 to 1/4 of an inch to the hole, the doors would latch. But how?
I have a file, but there was wasn’t enough maneuverability to really expand out the hole. Then, I had the bright idea of using a drill. Normally a drill drives forward, but I thought that if I rubbed the side of the drill bit along the bottom of the hole as it spun, I could slowly file down the hole to the needed size.
It was a good idea, but no luck. The drill just didn’t have enough grinding power on the edges to do anything meaningful. I was about to give up, when it occurred to me that perhaps someone made a drill bit specifically for filing down the sides.

Rotary burrs can be used to make a small hole wider.
Sure enough, they do. They are called rotary burrs and are used for carving and sculpting. I found a set for just $12 on Amazon.

By attaching the burrs to my drill, I was able to quickly grind down the bottom of the hole on the strike plate to make it bigger.
I selected the one with the most cylindrical shape and set about expanding the holes. Within a few minutes, I had expanded the holes to be low enough for the doors to actually latch. Success!
A toilet tank that is losing water
Emboldened by these successes, I decided to take on a plumbing project that has been bugging me. I’ve noticed that the toilet on the 3rd floor periodically tops off its tank without having been used. The toilet isn’t leaking, but clearly the water is going somewhere.
I checked the flapper valve and it seemed okay. I thought that the water might be going down the overflow tube, since the water level was very close to it. I tried significantly lowering the water level in the tank, but the problem didn’t go away. The tank would still periodically add water.
Not sure where to go next, I figured I would need a plumber. But I googled around a bit more and discovered that there is a simple way to test where the problem is – food coloring!
The idea is that you put food coloring in the tank, and then you wait a while and see if there is food coloring in the toilet bowl. If there is, then you know that the flapper valve is leaking.
I decided to give it a try. We didn’t have any food coloring (I don’t think Aviva has ever used food coloring in her life), but I asked her to see if the Whole Foods around the corner had any when she went to pick up a few things. She was skeptical that Whole Foods would carry this, but she dutifully returned home with what was probably the most expensive food coloring available (because what other kind would Whole Foods stock?).
The kids were fascinated, and they watched me dump some food coloring into the tank. 10 minutes later, we came back to take look.

Blue water in the bowl meant that water was indeed leaking from flapper valve into the tank.
Sure, enough, the toilet bowl was now blue!
I still have to stop at the hardware store and pick up a new flapper valve, but even with my mixed track record on plumbing projects, I should be able to handle this one.


Jeremy, this are great success stories. Congratulations.